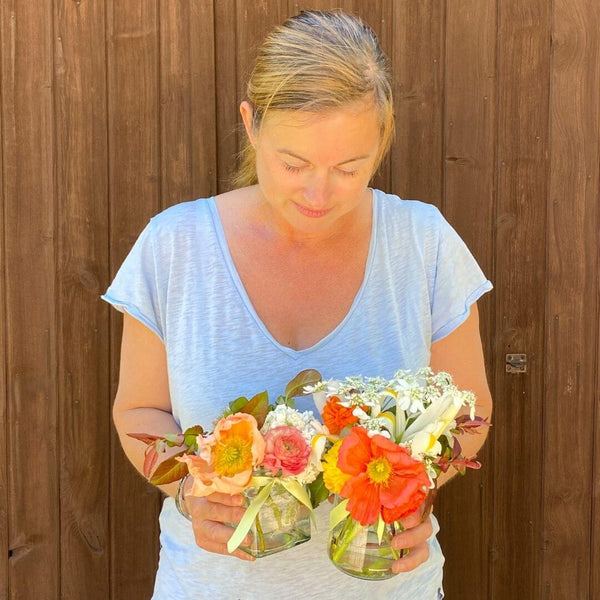
With a very small amount of flowers and foliage, it's possible to create beautiful, simple jam jar posies.
These are easier to transport than my paper wrapped posies as there's no brown paper to get splashed in transit - and you save your receiver a job as they don't have to find something to put your flowers into. This is a big deal if you're rocking up, for example, to a care home with a car full of flowers and creating a heap of work for the poor staff who have enough on their plates!
The only downside is you do need a constant supply of jam jars - which I ask all my recipients to collect for me - I can then swap empty jam jars for jam jar posies each week.
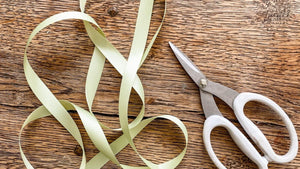
Step 1: collect jam jars, scissors and ribbon

Step 2: get your jam jars ready to go
Nothing fancy - just tie the ribbon and add water. You only want to add a couple of inches - just enough so that the bottom of the stems will be covered, but not so much that it will ruin your car when you travel with them! Your recipient can easily add more water.

Step 3: Prepare your flowers
Always cut your flowers first thing in the morning or in the evening, strop the leaves off their stalks and leave them in water in a dark cool place to have a long drink for at least 4 hours before you use them - this is called 'conditioning' and I usually cut in the evening, leave them overnight then arrange the next morning.
Conditioning means you'll get a longer vase life from your flowers and rehydrates them so they are bright and vibrant, rather than wilty and sorry for themselves!
I lay mine out in bunches so I can see easily what I have to work with:

Step 4: Take photo!
I love taking photos and sharing them every step of the way - it reminds me what was in bloom in any given season when it comes to next year and every time we share our pictures it encourages someone else to pick up a packet of seeds and start growing. Tag me @the.floral.project on instagram so I can see all your pictures!

Step 5: Add your foliage first
There is soooo much more I have to learn about the art of flower arranging - so bear in mind this is super-simple and probably not done 'properly' but it worked for me - and made my recipients smile so that's good enough for me:)
I used 'bits of greenery' from around my garden - I can't tell you what they were - some rose stems, a mixture of leaves and herbs such as rosemary.

Step 6: Add focal flowers
Odd numbers are always a winner here - add 1, 3 or 5 main flouncy flowers. Here I've used a poppy, a ranunculus and although viburnum is usually used as a filler flower, I added it here as one of the main ladies of the show.

Step 7: Add filler flowers and 'airy bits'
I love simplicity so for me, this one was done. But you can add extras as you can see in the examples below.
You can use Ammi majus, Gypsophila, Sweet William, Phacelia and many more - we're growing all of these and more at The Floral Project this year.
These jam jar posies were created in early Spring. I had only just started growing my own so only a couple of these came from my own garden - the rest I discovered by buying seasonal bunches from my local flower farmer so I could get inspired about what to grow myself (nearly all of these are now growing away in my own garden this year) and so that I could have flowers to give away earlier in the year than was possible from my own garden.
I created about 10 jam jar posies from just one bucket of flowers.


Step 8: Fancy them up a bit if you like
I'll add floral project sticker and tags to the store in the springtime!
 Step 9: Give
These were the very first posies I gave away to Woking Age Concern.
Simple. Beautiful. Smile-creating.
I hope this has inspired you to start growing to give - I honestly can't think of a better way to spend an hour or so than creating these little cuties.