You'll find lots of information about how to sow flower seeds all throughout my website and socials, but in this post I wanted to create a 1-page guide so you've got something to refer back to whenever you're on the journey of creating your own cut flower patch and you're not sure what to do next.
If you would like to be taken through the whole process of creating your own cut flower patch so you can grow flowers to give, please join the Flower Club waitlist here.
We've pretty much STOPPED sowing now, but take note of the details below because come early next year, we'll be ripping open those seed packets and starting the 2024 cut flower patch. Make sure you're following me here so you know when it's time to get started!
Here we go - featuring the letter P for some reason - don't ask me why.
Here goes....The 10 Ps of Growing Cut Flowers to Give....
That all said - here we go.
Step 1: Prinkle
(new made up word to fit with my theme of the letter P)
Aka 'sowing'.
Grab a seed tray, washed up yoghurt pot or plastic food packaging - make sure it has holes in the bottom for drainage.
Fill with compost - preferably peat-free
Moisten soil.
Get seeds. (That is what The Flower Club is for!)
Check package to see if seeds should be sown on the surface of the soil or covered over with soil.
If unsure, sow small tiny seeds on the surface and if larger, create a little hole with a dibber or pencil to drop them in and cover them over. 1 per module if you're using a cell tray, or sprinkle a pinch if not.
You'll need far fewer seeds than you might think. That sentence won't make any difference and you will still be emailing me to say 'I have too many plants - help!' That is where it will do you well to cultivate very good relationships with your neighbours so you can push all your extras onto them:)
Press seeds gently to make sure they make contact with moist compost as this is what triggers germination. If you forgot to moisten the soil before sowing, either place seed tray into sink or tray of water so it can absorb water from underneath or water VERY gently from the top (I use a sports cup to drip, drip, drip) so you don't wash the seeds to the side.
Place onto brightly lit windowsill in a warm room (I use the kitchen) and pop a clear plastic lid over them. If you don't have one, use a plastic bag.
Check about every 15 minutes until they germinate. Joking. But if you're anything like me you will.
Make sure soil stays moist but NOT damp while you wait. Too dry and they won't germinate. Too damp and they'll rot. How often you'll need to water will depend on the temperature of your room, whether they are in the sun etc - you'll start to get a sense of the weight of a well-watered tray in your hands and use that as your guide for future seed trays.
The moment you see germination, you'll need to get your seeds outside under cover - exposing them gradually over a few days to their new surroundings. For this you can use a greenhouse, a plastic zip-up greenhouse, a cold frame or simply a white plastic storage box with removable lids. See this blog post for more details.
You'll be tempted to keep them inside just a little bit longer. Don't. They now need light and as much as they can get their little leaves on. Fail to take this step and you'll be faced with long leggy pale little spindly things and no one wants that.

Step 2: Prick Out
If you prinkled your seeds across your seed tray, you'll need to prick them out once they have their first two true leaves (the ones that appear AFTER the first two seed leaves) to give them ample room to spread their roots in their own little 9cm pot.
You can do this when they are smaller if you are known for your delicate touch (or huge levels of impatience). But there's no rush so leave them if you can.
Watch the video below, or see here for a super-quick mini-tutorial.
Step 3: Pot On
If they start to fill their pots with their roots but it's too soon to plant them out into the garden (see below), then you'll need to move them into a bigger pot while they wait to prevent them becoming root bound and miserable.
This will also freshen up their compost which will also make them much much happier. And happy plants are flowery plants.
Step 4: Plan
Where are you going to put them all??? OK so of course this should have been Step One. But if you were that kind of person, you would have read this entire post before you even opened a packet of seeds and therefore are the kind of person that will move this step to step one.
If you are like the rest of us, you now have 503 cornflower seedlings and 63 dahlias and are stumped because you have a tiny garden.
Measure your space - divide it up according to the spacing on your packets and draw a little sketch that you will not stick to but will help you sleep easier at night.
We have a workshop for that if you'd like a hand.
Step 5: Plant Out
If plant = hardy annual - plant out any time from the end of March. When you can sit on the soil with a bare bum to be precise.
If plant = half-hardy or tender annual - plant out any time from your last frost date - mine is the last week in May here in Surrey - click here to find yours.
If plant = biennial - plant out in the first two week of September if large enough, otherwise overwinter and plant out as if a hardy annual.

Step 6: Pinch
Ouch. Feels so cruel but this is where you have to put your big girl panties on and be like a proper gardener.
Some plants require pinching. This just means pinching away the main steam of the plant which then encourages it to branch into a bushier flowerier flower.
Here's a little video of how to do it and why.
Here is my Cosmos before pinching:
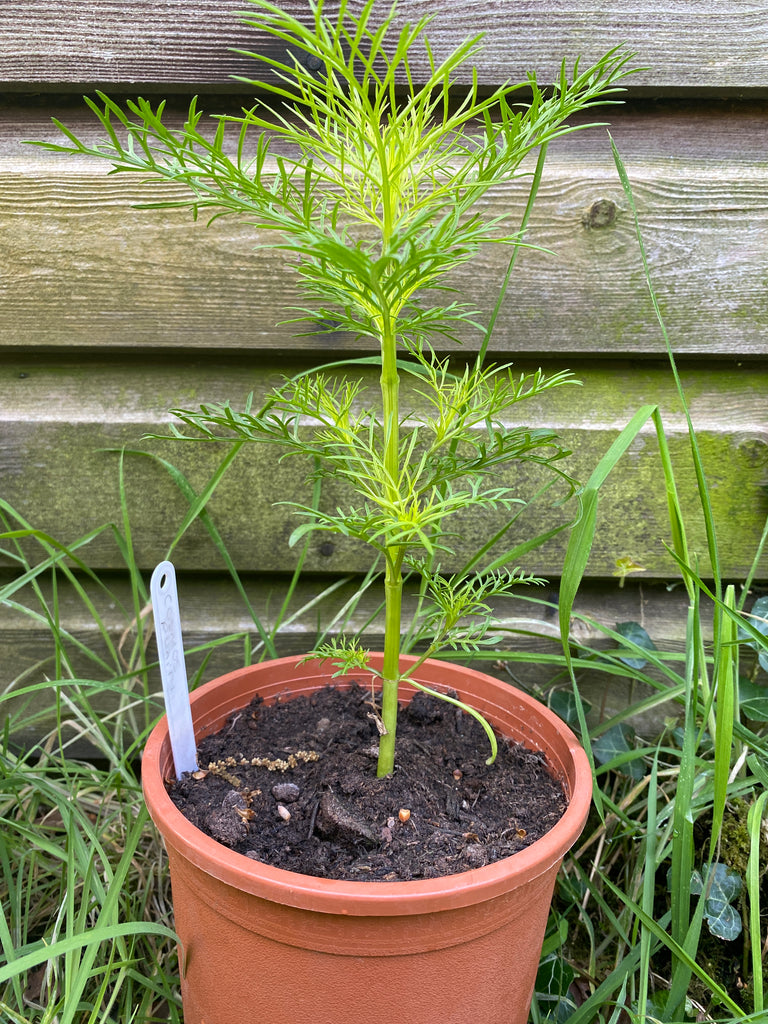
and afterwards

Step 7: Protect
Throw a fleece over anything you're worried about if the temperatures head towards freezing. Your hardy annuals will be good below zero once they are established little plants - your half-hardys will be wiped out by the slightest sniff of frost if you don't tuck them up with some horticultural fleece.
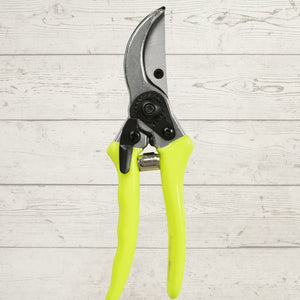
Once planted out - you'll need to stake and support your plants - here's how.
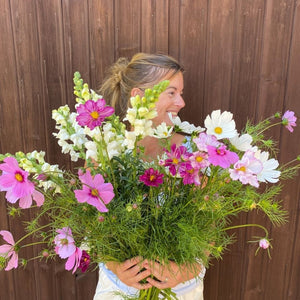
Step 8: Pick!
Once the flowers are blooming - it's time to pick them.
For most flowers, you'll want to pick when the flower is in bud form, just as it's about to start unfurling. See all these beautiful Cosmos? I left them all too late really as when I started I wanted everything to look wow on the day I gave it.
Great for instagram shots. Great for an intake of breath to those they are given to. Crap for vase life.
This summer I'll be mixing it up a little more with open flowers coupled with buds that will continue to open in the vase.
Step 9: Posies and Pictures
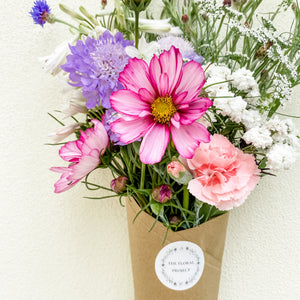
This is how I get my flowers from garden to posy.
Sometimes I create posies - sometimes I give in simple jam jars -but that doesn't begin with P so didn't get a main mention here.
Here's a step-by-step guide to that: https://thefloralproject.co.uk/blogs/news/simple-jar-jar-posies
Step 10: Pass on the Beauty
As you start growing, reach out to local charities and organisations that support those that might not have anyone to bring them flowers.
People who need to know they are thought about all week long.
And bring them a smile with your home-grown flowers that you have put heart and soul into growing.
Love in flower form.

This is the whole point of what we are up to.
Try it. You'll soon be hooked:)
Sow. Grow. Give.
Nicola x
PS If this has got you all excited about doing the same and growing armfuls of flower to enjoy and give away, please do join the waitlist for The Flower Club and I'll let you know as soon as I open back up again.